Tuesday, January 29, 2013

Tasty Tuesday: Valentine's Breakfast

Today I would like to share one of my all time favorite breakfasts with a Valentine's Day flare!  I love Egg in Toast.  My freind Lindsi indtrduced it to me long ago, and I just fell in love with it. 

First off, cut a hole (or in this case a heart) in a piece of bread with a knife. Then, you will want to butter each side of the bread (for this step I use a paper towel or a paper plate to put the bread on).  I also butter each side of the bread piece that you cut out.  Next, butter/oil/no-stick spray a pan, put the bread in, and crack an egg into the hole. Then cook it like you would normally cook a fried egg and flip when ready.  Also fry each side of the hole that you cut out of the bread to make little toast pieces.  You're now ready to plate it up and eat, so yummy!


To enhance the breakfast, we also made a heart shaped bacon.  Simply fold up your bacon into a heart-like shape and cook it as usual, easy as that!  You can also have some strawberry milk, or, if you're like my husband and don't like strawberry milk, just add a few drops of food coloring to regular milk. It makes such a festive breakfast!


Lastly, we have our heart shaped bananas.  Carve out a triangle in the banana, and trim the round sides to make them straight - as shown in the pictures - then slice them up and put it on the plate!  Such an adorable breakfast...and it's SO yummy!


Hope you enjoy it and I hope your Valentine enjoys it! :)


Happy Crafting!

Monday, January 28, 2013

My Minds Eye Collectable

Today I would like to share some page layouts by one of our favorite designers Amber Packer.  This is the My Minds Eye Collectable line that we are featuring this week at 25% off.  Everything that Amber designs is always superb and we sure miss working with her on a daily basis.  She was so kind to share her designs for this line, and they are amazing! Love her!


We hope that you enjoy these fabulous ideas and we will be sure to share more as they are given to us!  To see more of her great ideas visit her Blog here: Amber Packer Blog


 Happy Crafting!


Sunday, January 27, 2013

Super Bowl Decor

Are you all ready for some Football?!  My family sure is!  I'll be honest, I actually didn't enjoy sports at all growing up and hated that my brother had it on all the time.  But then I married a wonderful man who loves sports, football being his favorite, so I decided to give it a try.  I really enjoy it now, but most of all I love the food involved and the fun to be had with friends and family.  I'm very excited for this years Super Bowl. I think it will be the most fun yet with all the things I have planned.

What I want to share first is my scoreboard.  I bought a chalk board from Hobby Lobby and painted the edges to make it what I wanted.  I also got some wooden squares and sticks and painted them to match. I put vinyl chalk board on them to make the paddles for the scores.  This year my husband and I decided it would be fun to score the commercials since that is the favorite part for people who don't particularly love the game.  So, we will have three teams, and for each commercial each team will give a score, and we will keep track on the score board while also keeping track of the score of the game. I'm very excited for this game!


 Next we have the football cans.  They are just leftover cans I had that I wrapped in our American Craft Chestnut Cardstock and the laces with the White Cardstock.  You can put anything in these; candy, silverware, straws, napkins, etc.  So simple!  Then, we did the same thing with juice boxes for the kids at your party.  We want them to have fun and feel included as well.


Next, we wrapped the football field paper from our Echo Park Mini Themes Football pack around some napkins for people to use.  I just cut them 1"x6" and taped them at the end.  Also from this same Mini Themes pack I put the Football and Banner sticker around the vase to make it more festive. 


And last, my favorite project, the photo booth props.  This is such a fun idea to bring a little bit more of a party to your Super Bowl party.  I made the helmets for each team, a headset of a coach, the eye blacks, football glasses, and football bow ties.  I am so excited to have fun taking pictures with all of my nieces and nephews and siblings, it is going to be a blast!


I know we didn't use much for the Echo Park Football Mini Themes but I would still recommend getting it so you can use the rest to scrapbook all of the fun you had at your Super Bowl Party - I know that is what I will be doing with my extras! And of course, I will share those after the party!  I had so much fun with this project and I hope you enjoy all of my ideas!

Happy Crafting!


Wednesday, January 23, 2013

Tasty Tuesday: Superbowl Treats

Welcome back to Tasty Tuesday! This week we are going to take a little break from our Valentine's day ideas to share some Super Bowl party ideas!  I love a good Super Bowl party, and half of what makes the party is the food.  I have so many ideas for this years Super Bowl I'm not sure I'm going to be able to do them all.

The first idea I would like to share is a football cheese ball.
what you will need:
2 packages cream cheese (8 oz each)
2 1/2 cups shredded cheese
1 packet ranch mix
about a cup of crushed pretzels
1 string cheese

First, smash up the cream cheese in a bowl. Next, add the ranch mix and shredded cheese and mix thoroughly (I used my hands to really get in there and get it all mixed up). Then, place it on a platter and shape it into a football.  Next, cover it with the crushed pretzel and wipe away excess. For the laces, pull apart some string cheese to put on top.  Now all that's missing are your favorite crackers an veggies all around to serve!  Be sure and keep it refrigerated until serving time.
note: use any shredded cheese you would like, I used a Mexican blend cheese myself.

My other treat today is football brownies.  These can be so simple if you want them to be!  Just buy a package of brownie mix and mix as directed.  Let them cool then use a football shaped cookie cutter to make litte football brownies. Now, I knew I wouldnt be using a lot of frosting for the laces so I bought the prepackaged kind with the narrow decorative tip. 

If you wanted to make these even more epic, and be a tasty hero, you could make the brownies from scratch and use the frosting recipe from last weeks Tasty Tuesday!


I hope you enjoy these ideas and be sure to stay tuned this week for Super Bowl party decor!!

Happy Crafting


Saturday, January 19, 2013

Wrapping up your Sweets: part 2

The first Idea I want to share I saw on a segment of Good Things Utah last year for Valentine's Day and I just tweeked it a little to make it my own! 

These are Conversation Hearts Ipods! I love them so much, I think they are just the cutest things ever!  You would be the coolest mom on the block if you made these for your kids classmates. All you have to do is choose a pattern paper to wrap around your box, cut a circle and a square to go on them and add a heart in the middle for the button. I used Doodlebug Glitter Sweetheart Brads  Then think of some fun love songs to write on there like Call Me Maybe or Can I be Your Boyfriend. Cut a long piece of our Doodlebug Twine and tape it to some Hersey Kisses for the ear buds.  It did take a bit to put them together but I think the outcome is worth it!


The second idea is a bottle of Crush orange soda, one of my husbands favorites.  I covered it with paper and embellished it.  Then attached a tag that say's "I have a crush on you".  I didn't like the look of the bottle cap since it clashed with the colors so I used Doodle Bug Love Birds and Echo Park Love Story. Washi Tape, in a coordinating color, to cover up the cap.  So simple and so cute!  For both of these ideas I used Doodle Bug I hope you enjoy these ideas and there are more to come!  I Love Valentine's Day!!


Happy Crafting


Tuesday, January 15, 2013

An Oldy But a Goody

Again one of my favorite treats are cupcakes!  I just love them and I can never eat just one, but really who can?
So for this recipe I made chocolate cupcakes because I thought it would be a good color against the pink frosting.  I used the same frosting recipe from the previous cupcakes and added a few drops of food coloring, I will share it again.  For the cute cupcakes with the heart shape in them, I just cut them out by hand with a serrated knife, it was very easy!  These are so cute and simple they are sure to be a Valentines Day hit!

 Buttercream Frosting
1 c. Butter
1/2 c. Shortening
2 1/2 c. Powder sugar
1 egg white
1/2 tsp lemon juice
1 tsp Vanilla extract

-Using the paddle attachment, cream together butter, shortening, and powder sugar until well blended
-Add the rest of the ingredients and mix until light and fluffy


Be sure to check back later this week for wrapping up your sweats part 2!


Happy Crafting!


Saturday, January 12, 2013

Wrapping Up Your Sweets

Today is the first of many Valentines Day craft blog posts.  I just absolutely love Valentines Day!  I'm not even really sure why I love it so much.  I was usually between boyfriends on valentines day growing up and it just recently became good now that I have a husband, but it has always been one of my favorites.  Maybe it is all the fun happy colors, hearts, love birds, Valentines Day boxes, getting Valentines from friends and of course, chocolate!  Lets be honest, this holiday is really all about getting and giving chocolate.  So for this post I want to share some fun, crafty ideas on how to dress up your chocolate bars.

For these crafts, I used the new Echo Parks Love Story and Doodlebug Designs Inc. Love Birds.  Both of these lines have been so fun to use and are very easy to use together - which I love!  There will be more crafts to come that use these lines as well.


As you can see, these are very simple to make. Simply measure the candy bar, wrap the pattern paper around it, and decorate to your hearts content with all of the accessory stickers, chipboard shapes, and pops that these lines provide.  With all of the different product you have when these two lines are combined, the possibilities are endless!


Have fun and stay tuned for more Valentines Day crafts soon!


 Happy Crafting


P.S.
I still haven't recieved any of the winners addresses to send them their prize!  Please be sure to email me at chefsinda@hotmail.com to redeem your prize!!


Wednesday, January 9, 2013

January Winners

Heather hilgeew, Martha Sterbens, and Cathy H; Congratulations you are our winners!! Please email me your addresses to chefsinda@hotmail.com to redeem your prizes.  We are so excited about the response we got from this months giveaway!  Thank you so much to all of our fans out there for spreading the word and helping our small business grow, we appreciate you so much. This is so fantastic and we will continue doing giveaways the first week of every month.  Get the word out!!

Happy Crafting

Tuesday, January 8, 2013

Tasty Tuesday: Chocolate Chip Cookies

This weeks  Tasty Tuesday is my famous chocolate chip cookies!  I love these cookies so much, and so do all my friends and family!  I don't want to brag too much, but it has been said that they are like crack.  The secret of the cookies is all in how you mix them.

What you will need;
2 sticks of butter (room temperature)
3/4 c. sugar
3/4 c. brown sugar, packed
1 1/2 tsp. vanilla
2 eggs
1 tsp. salt
1 tsp. baking soda
3 c. flour
2 c. chocolate chips


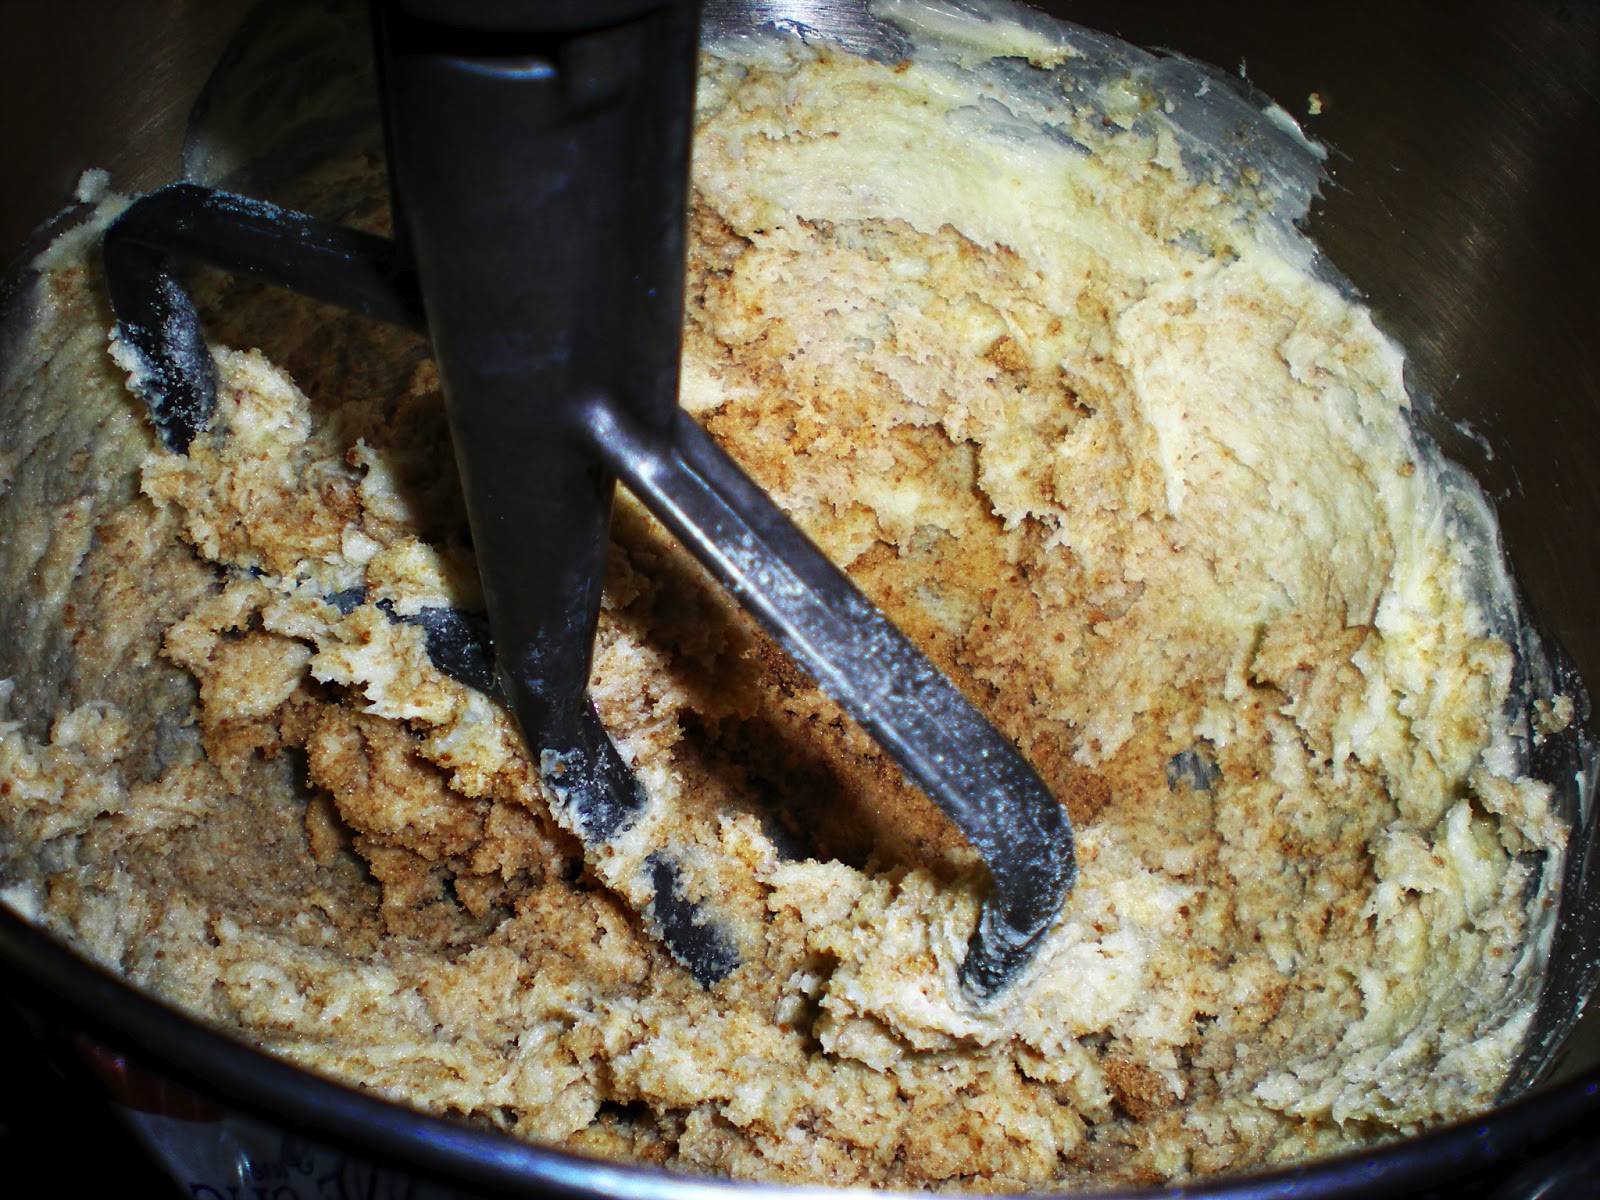
Make sure you follow these directions exactly.  First, you will want to cream the butter and the sugars together.  The key here is to cream it long enough that the mixture starts to become a lighter color then it was right when you added the brown sugar. Then, add the vanilla and mix. Next, add each egg one at a time until it's completely blended in.  Now, you will probably want to push down the sides of your batter because it will have spread to the sides.  The next part is very important, put the salt, baking soda, flour and chocolate chips all in the bowl with the sugar mixture and then slowly mix until just blended together.  Do not mix too long or the cookies will become tough.


Now just drop your cookies onto a baking sheet and bake for 8 minutes at 375 degrees Fahrenheit (as always, baking times can vary with altitude).  I like to leave my cookies in little messy balls when I put them on the baking sheet because I like the rustic look they have when baked.

I hope you enjoy these cookies as much as I do!


Happy Crafting!

Saturday, January 5, 2013

Calendars/ January Giveaway

It's a new year!  Time for new beginnings, new goals, and a new you.  What better way to keep track of those goals than with a cute calendar?

The first calendar we have is from Teresa Collins. It is a 32 page 2013 Calendar Album.  I love this album because it has so many different facets to it.  Of course, it has a place to keep track of your day to day things you need to remember, but it also has places to put pictures of memories and write them down (or maybe glue in some small keepsakes of those memories).  It would be such a great year long project to continually add to, and would be so fun to go through at the end of the year - and years to come!


The next calendar idea is a lot of fun too!  You just need to get a small, or a large, blank calendar - whichever you prefer.  You could even print out a fun calendar (there are a lot of printables to be found on Pinteres).  Then, make a fun page to the theme of each month with pictures of family and friends.  This project is great because you can either sit down and do it all at once for a project, or you could stretch it out, and make one at the end of each month for the next coming month.  You can also add as many or as little embellishment as you would like.  This project is just for you so make it yours!  Another idea would be to make it a year in review for the coming year with pictures from the past months and give it to Grandma and Grandpa as a Christmas gift at the end of the year. 


 Now that you have your calendar ideas, I would like to share some of the goals that I have for myself this year.  I am going to have a new goal to work on each month. That way they will be easier for me to keep track of.  This month, my goal is to go the whole month without fast food (so far so good)!  We are moving in March so my goal that month will be to get everything unpacked and organized. 


Last, but not least, for this months giveaway we are going to be giving away three of the Teresa Collins Project of the Month Calendars.  To win, comment on this post telling me what some of your goals are this year!  We will announce the winners next Wednesday, the 9th of January, so be sure to check back to see if you won!!


 Happy Crafting